Postbacks allow you to inform partners of various events related to your app (installation, purchase, etc.) and to synchronize data with your external analytics systems.
MyTracker offers a flexible postback configuration. You can configure regular and custom events separately and send data on all users or only those "brought in" by your partner.
Postbacks are not yet available for VK Mini Apps. Learn more
MyTracker provides a list of regular events to generate postbacks (for more details, refer to Postbacks):
For a mobile app, you can send any regular postbacks. For web apps, only new user, re-engagements, registrations, authorizations, custom payments are valid.
To send regular event postbacks:
If you have doubts about which events require postbacks, review the list of supported events and recommendations regarding their implementation, discuss the matter with your partner, or contact our support.
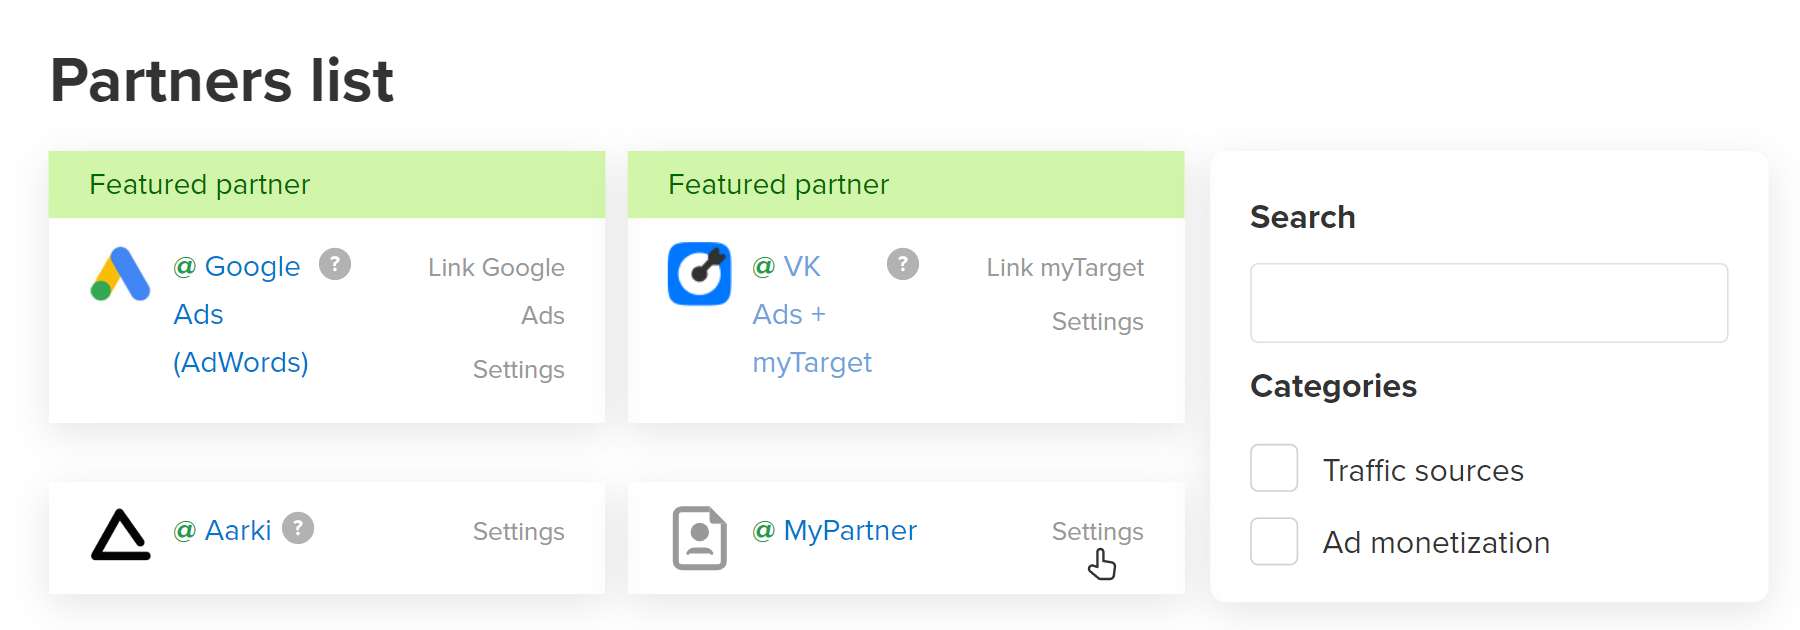
Most partners support only one mode, Send attributed. However, some, for example, VK Ads + myTarget, Google Ads, are set up to receive data related to all of your app users in Send all mode (usually, this is required for remarketing list generation).
For payment events, from the drop-down list, select the additional option: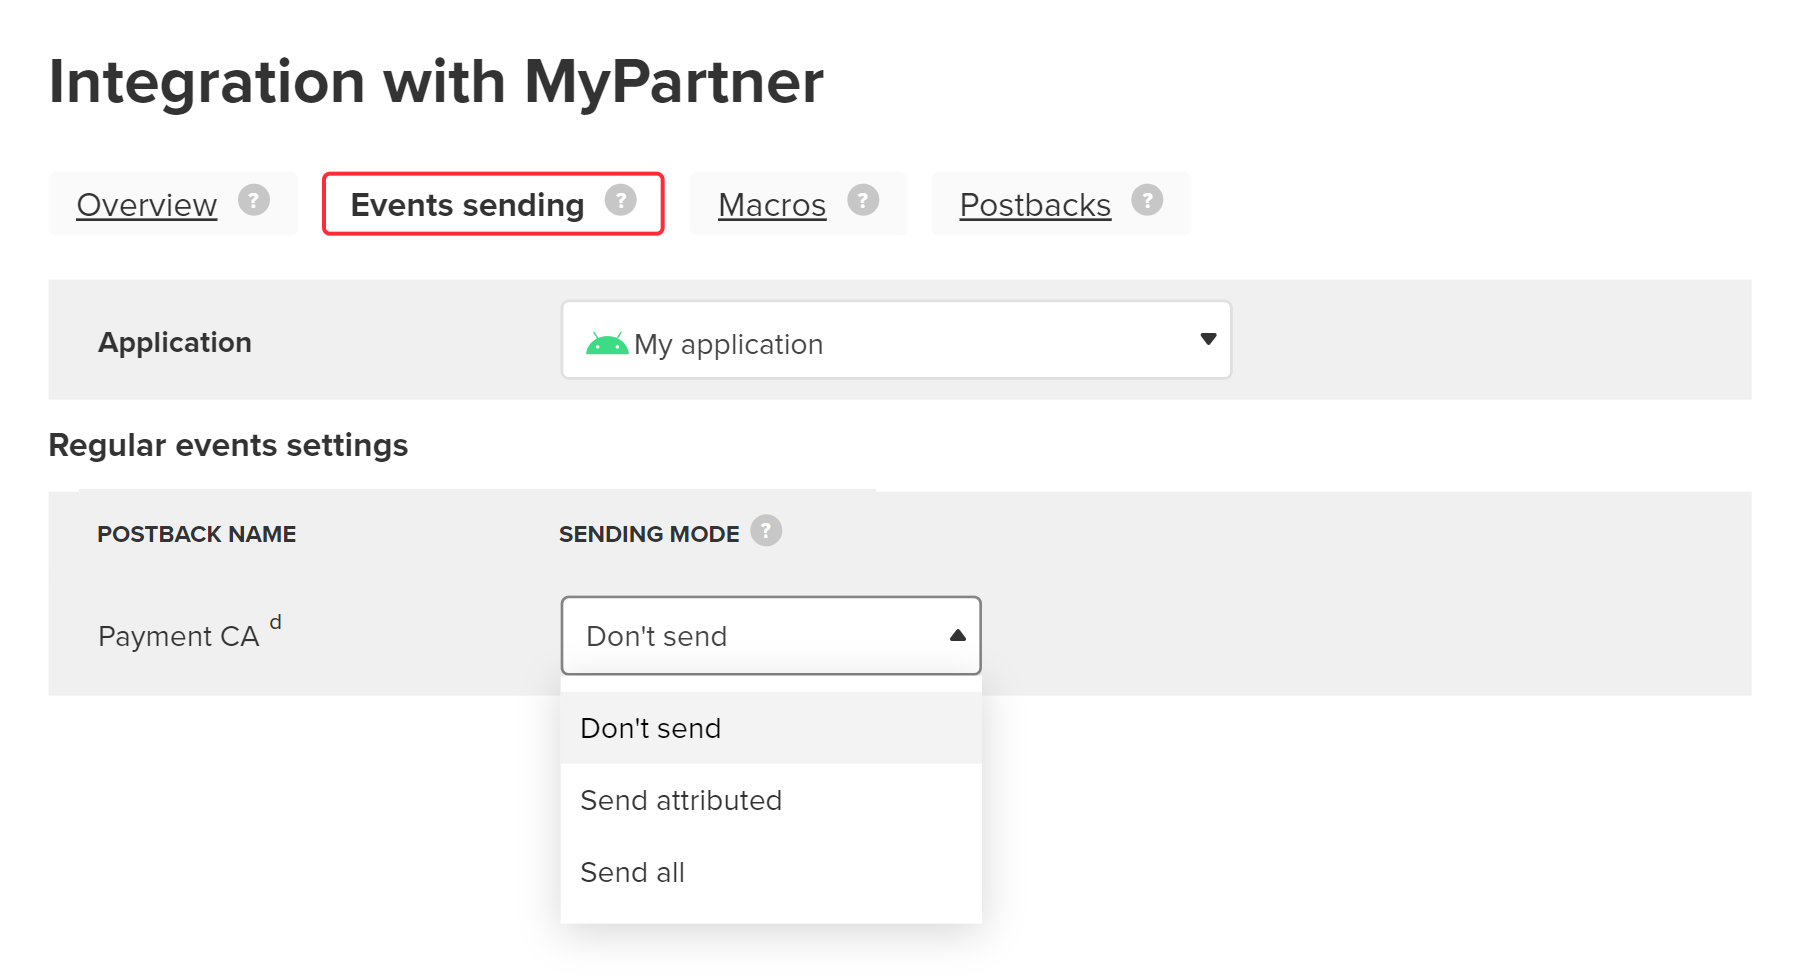
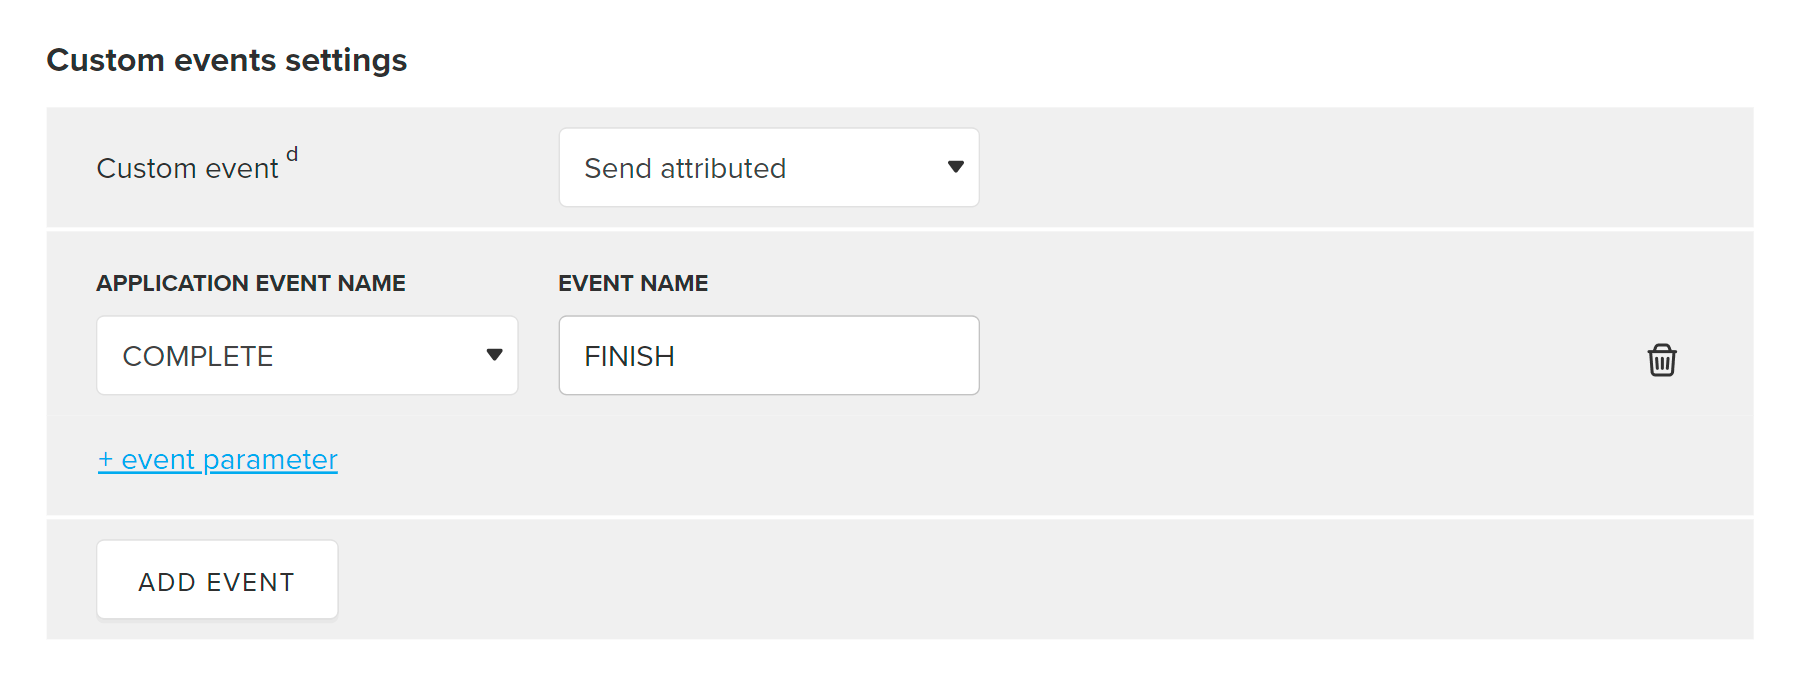
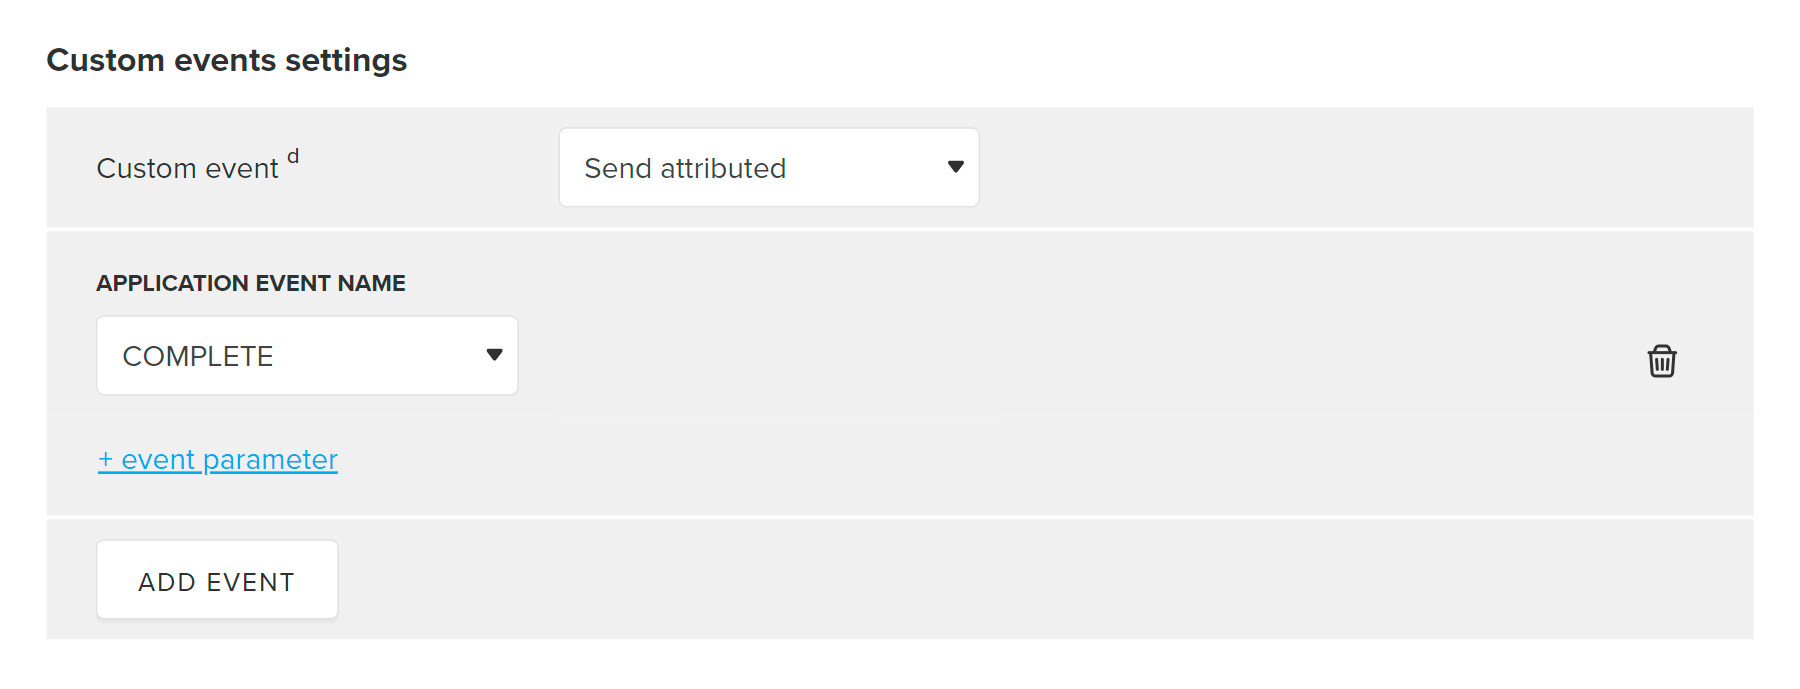
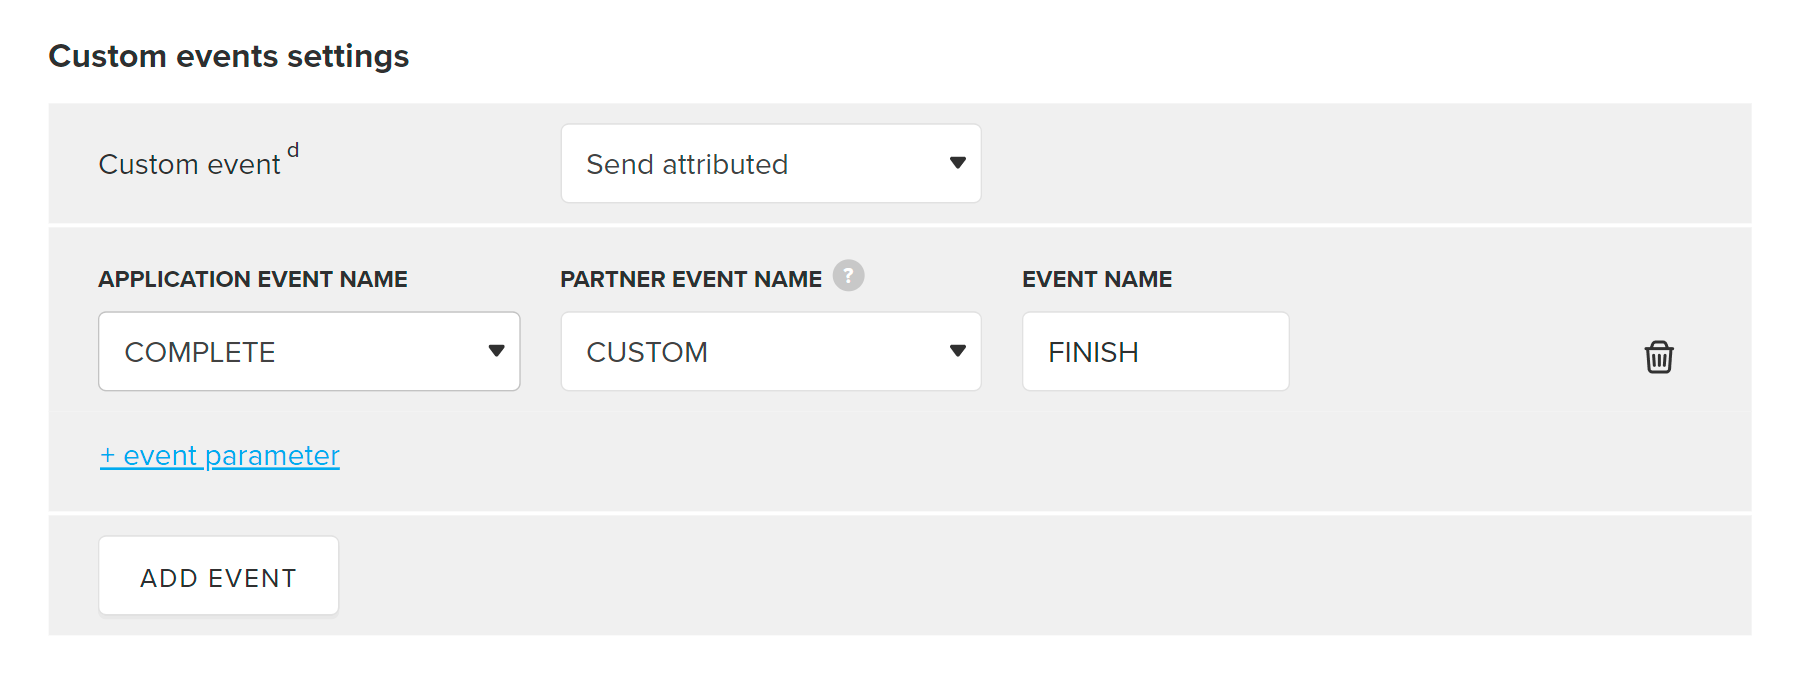
Custom events are certain events that are specific to an app. For example, adding to cart, reaching a new level in a game, etc.
Note that only the events that have been already tracked, i. e. transmitted from your app to MyTracker, can be configured. For more details on event tracking, refer to the SDK documentation for iOS | Android | Unity | Flutter | Web, and S2S API
To send custom event postbacks:
If you have doubts about which events require postbacks, review the list of supported events and recommendations regarding their implementation, discuss the matter with your partner, or contact our support.
Most partners support only one mode, Send attributed. However, some, for example, VK Ads + myTarget, Google Ads, are set up to receive data related to all of your app users in Send all mode (usually, this is required for remarketing list generation).

The list of fields may depend on the selected partner:
Add +event parameter to clarify the conditions for sending a postback. For example, you can send a "level up" postback only if the "level" parameter is "10".
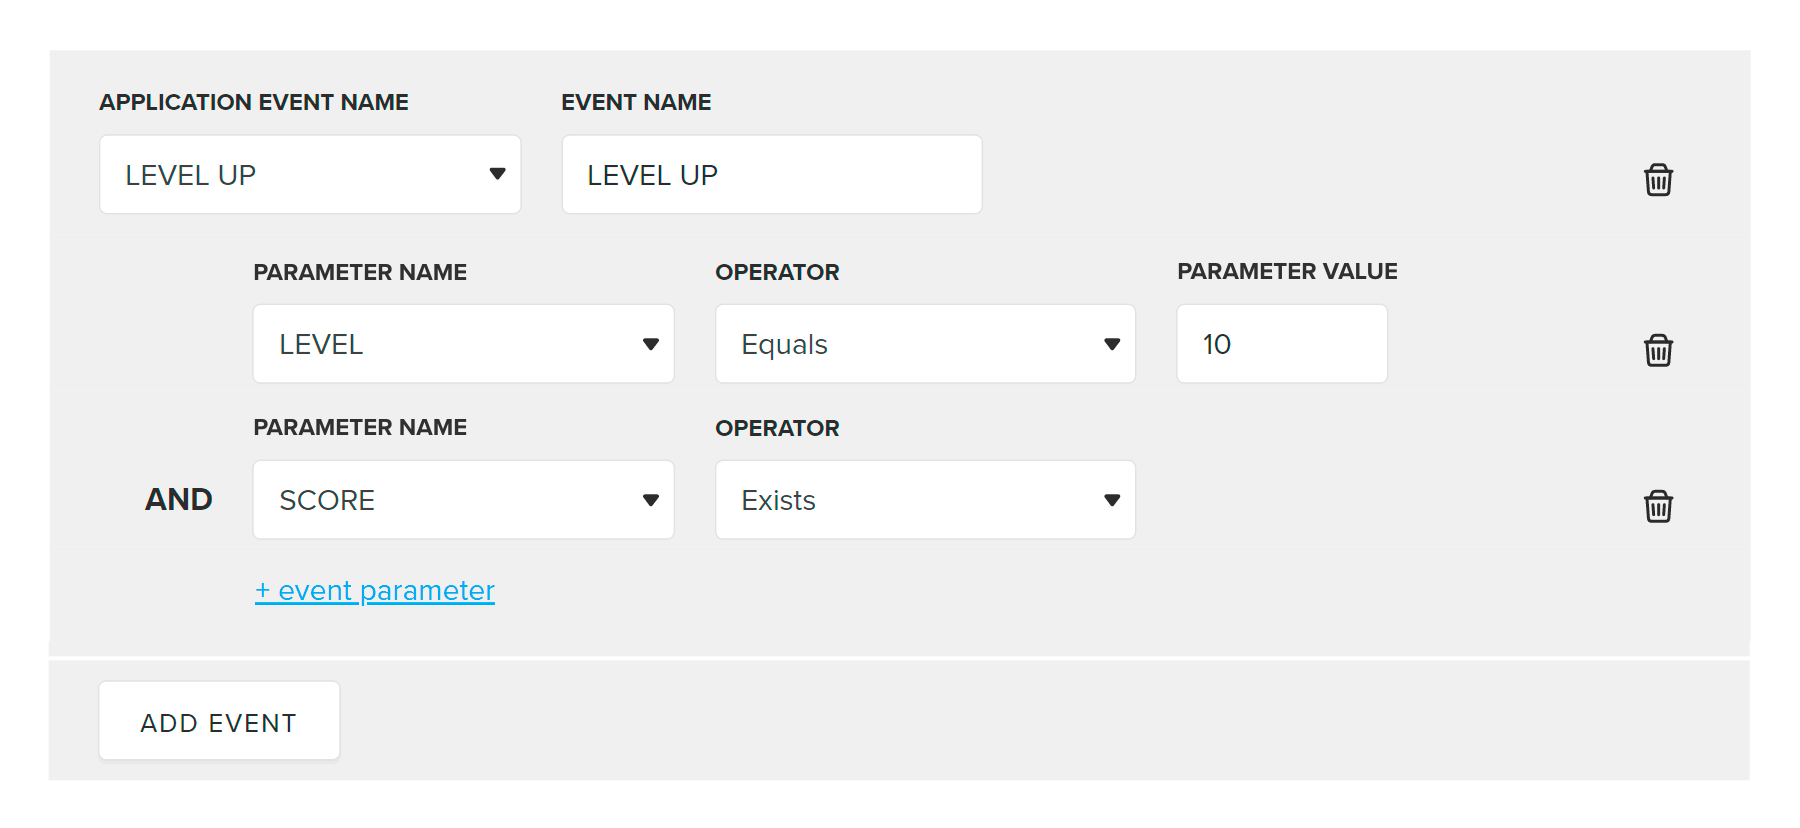
For each parameter, specify a value using the operators Equals or select the operator Exists if the parameter can be with any value.
In this step, you set the conditions for sending a postback. The list of parameters that will be passed to the partner should be defined in advance in the postback template. For details, refer to the URL template section.
You can view sent postbacks in the Report builder:
To learn more, see Builder and Selectors sections