The app verification allows to confirm the published application rights and provides authenticity and security of the uploaded data. If the app is not verified, MyTracker cannot receive SKAN postbacks for attribution on iOS 14.5+ devices and soon cannot accept data from integrated partners: clicks, impressions, campaign costs.
You can verify apps published on the App Store and Google Play. Other stores are currently under development.
Only users with the Owner or Manager role can enable or disable the application verification in MyTracker
To get API Key:
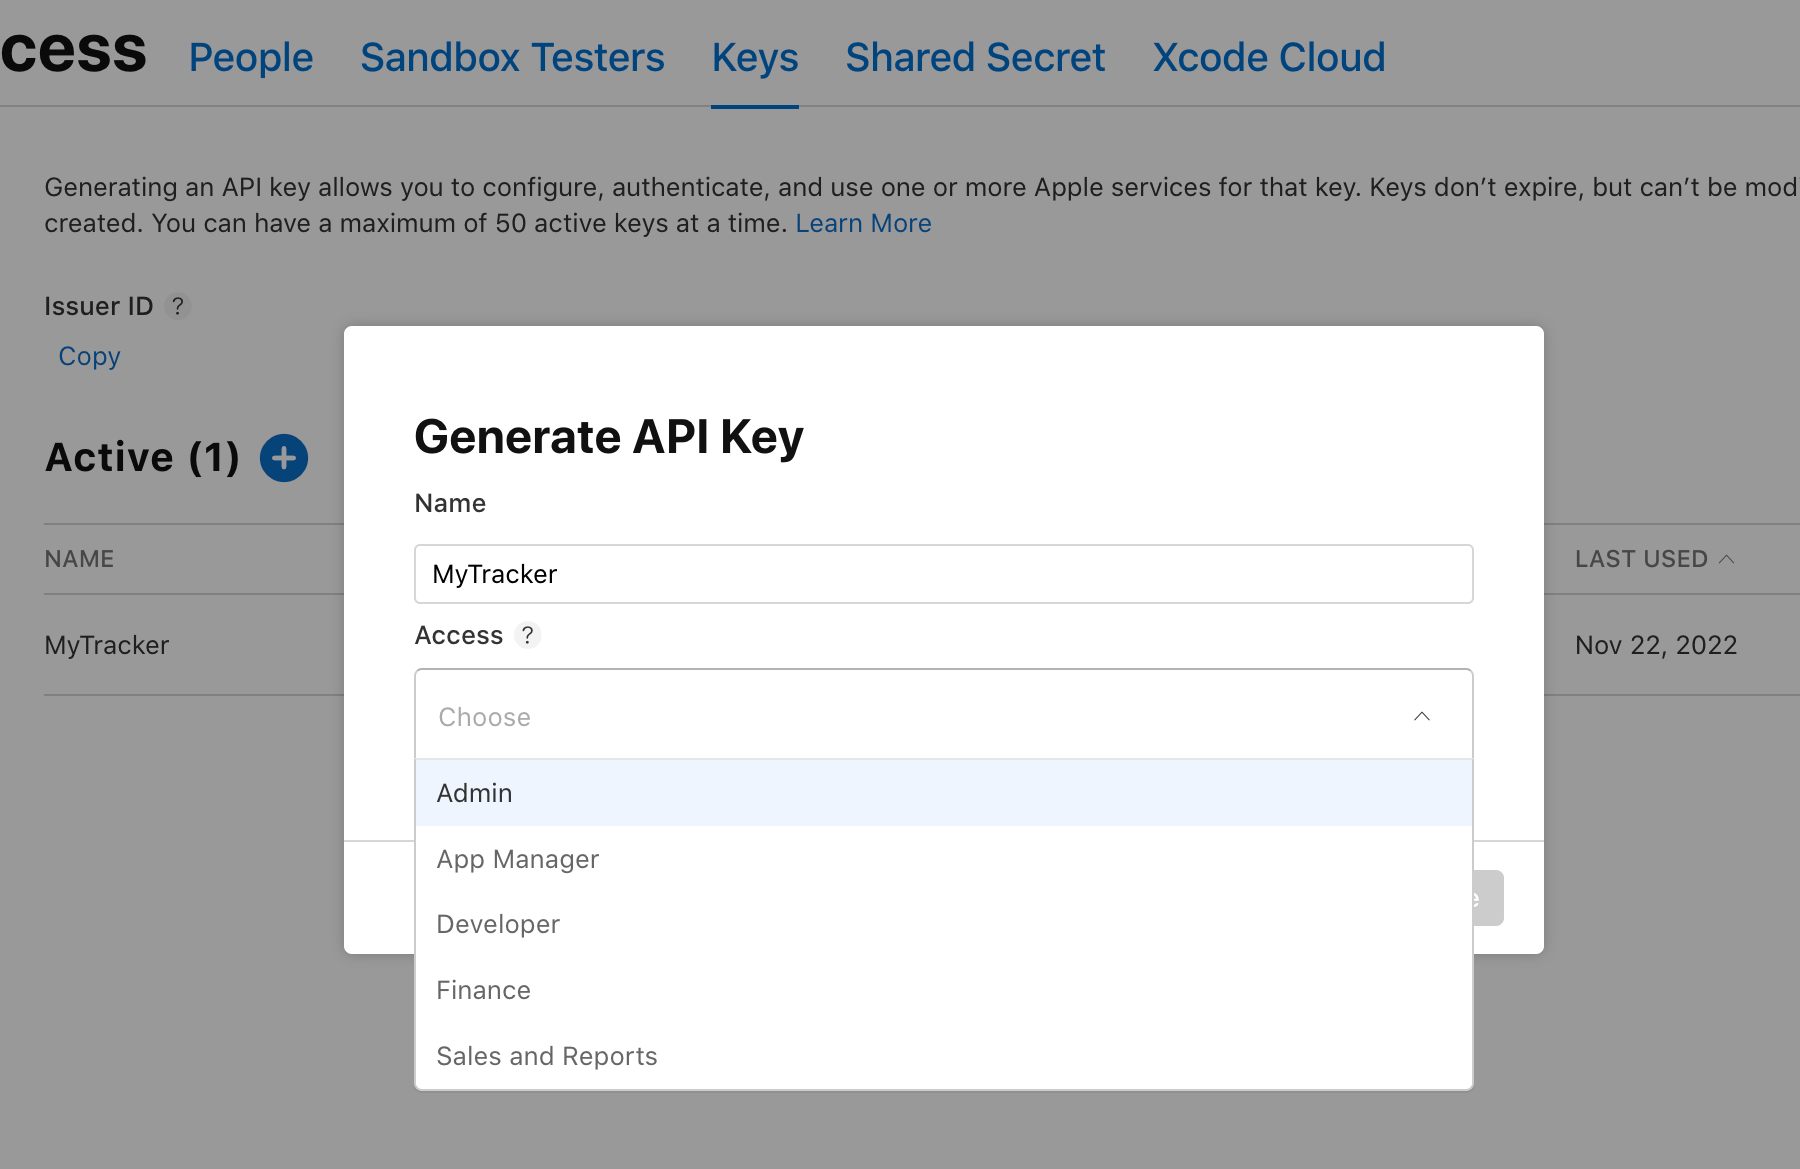
Use API Key to verify an application in MyTracker.
Add the copied identifiers and downloaded key to MyTracker to verify the published iOS application:
MyTracker does not store the entered data. The API Key and identifiers are used once to verify the application.
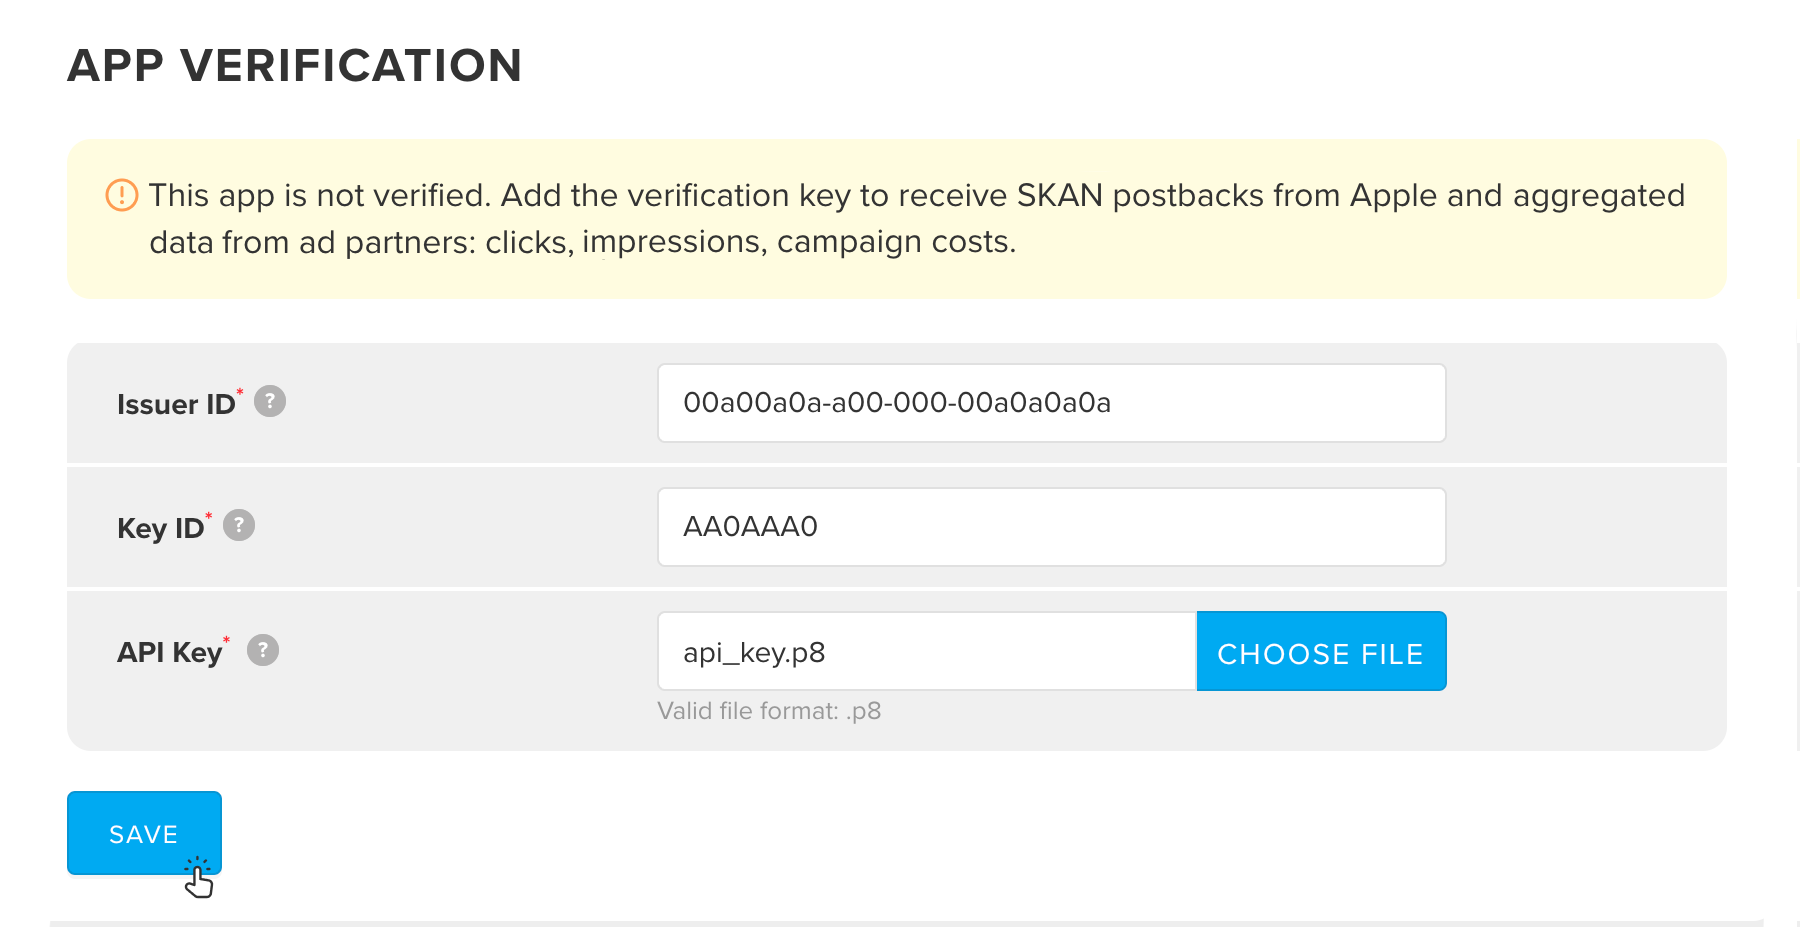
Based on the specified API Key, MyTracker will receive a list of applications available to the user, then check this list for the verifying application. If the application is found, then the rights will be successfully confirmed.
After MyTracker verify the application successfully, the icon will be displayed on the App verification tab .
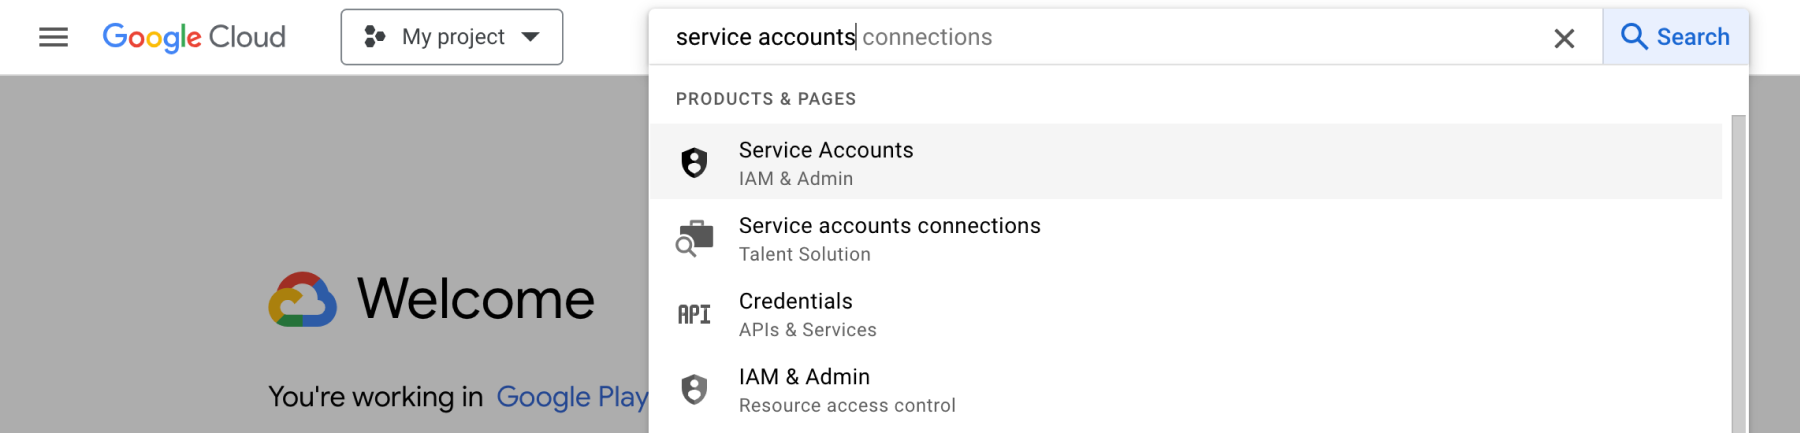
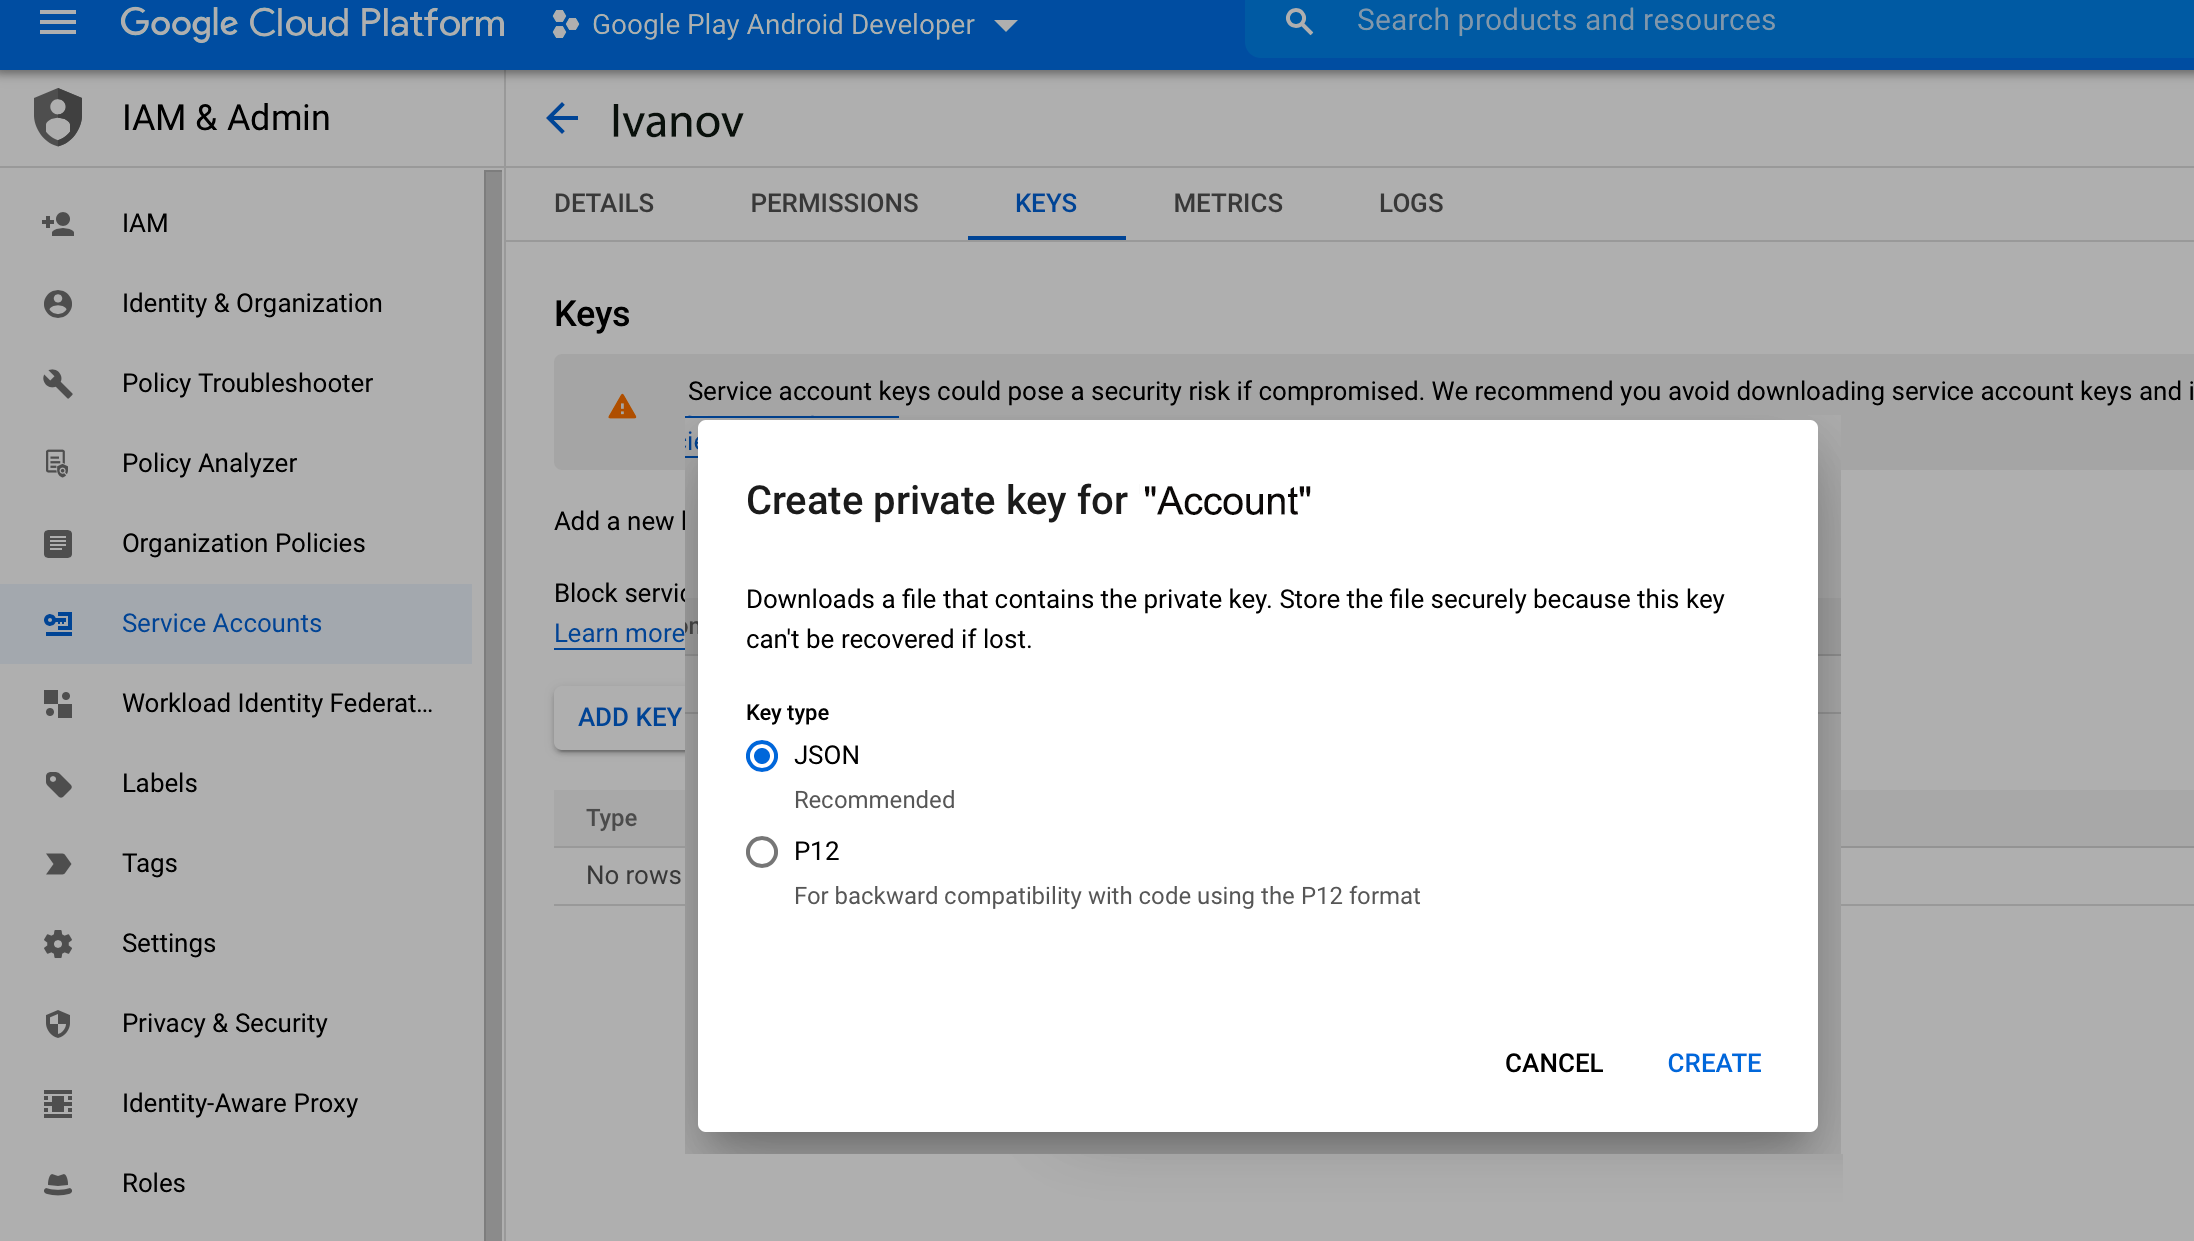
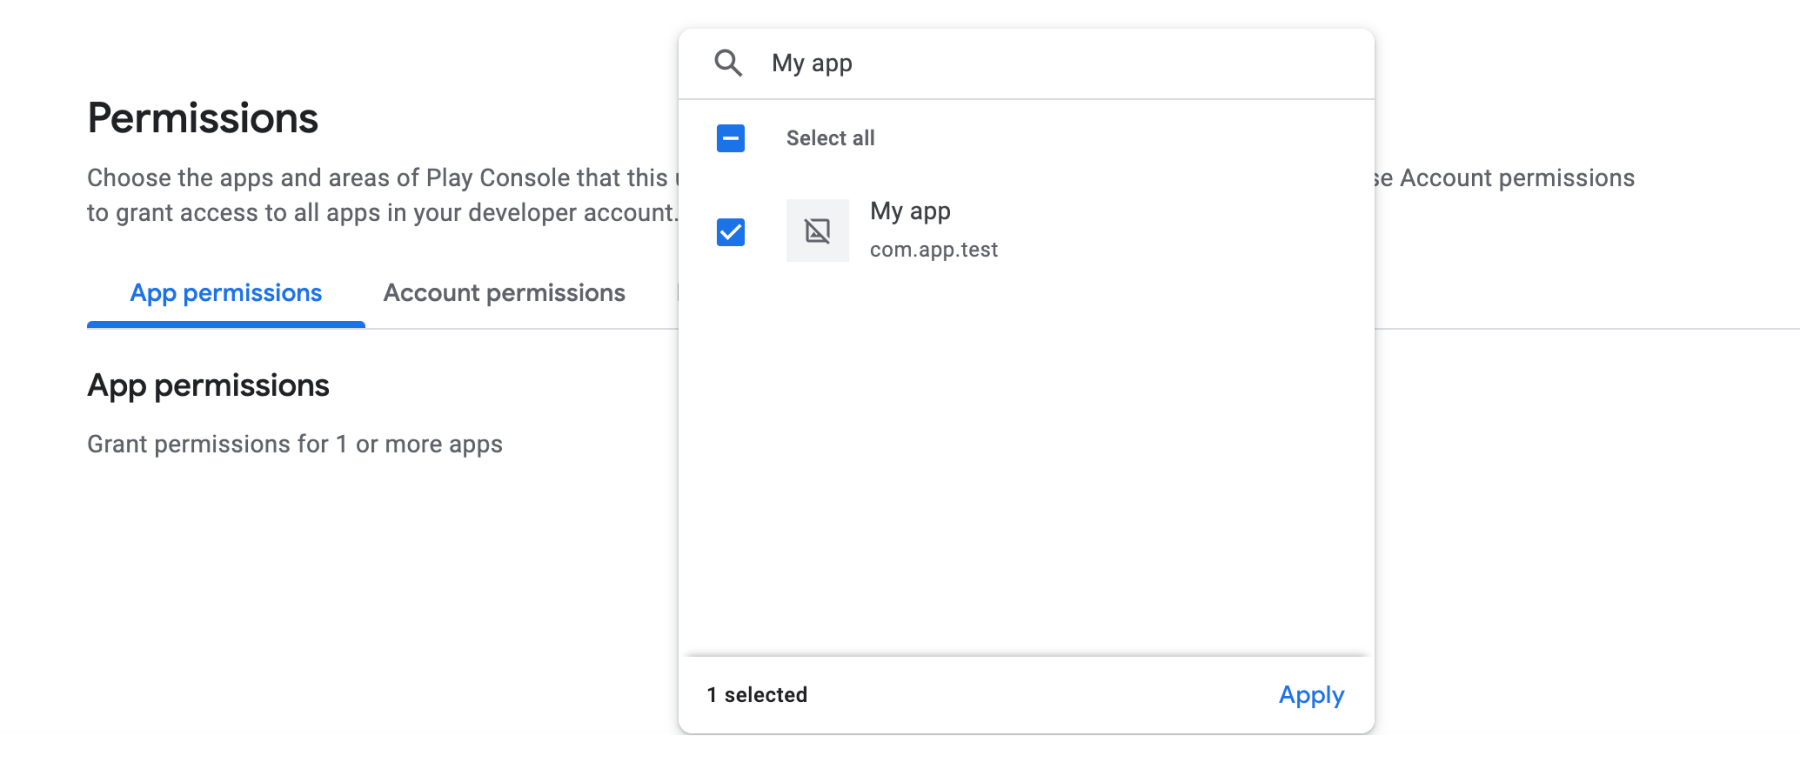
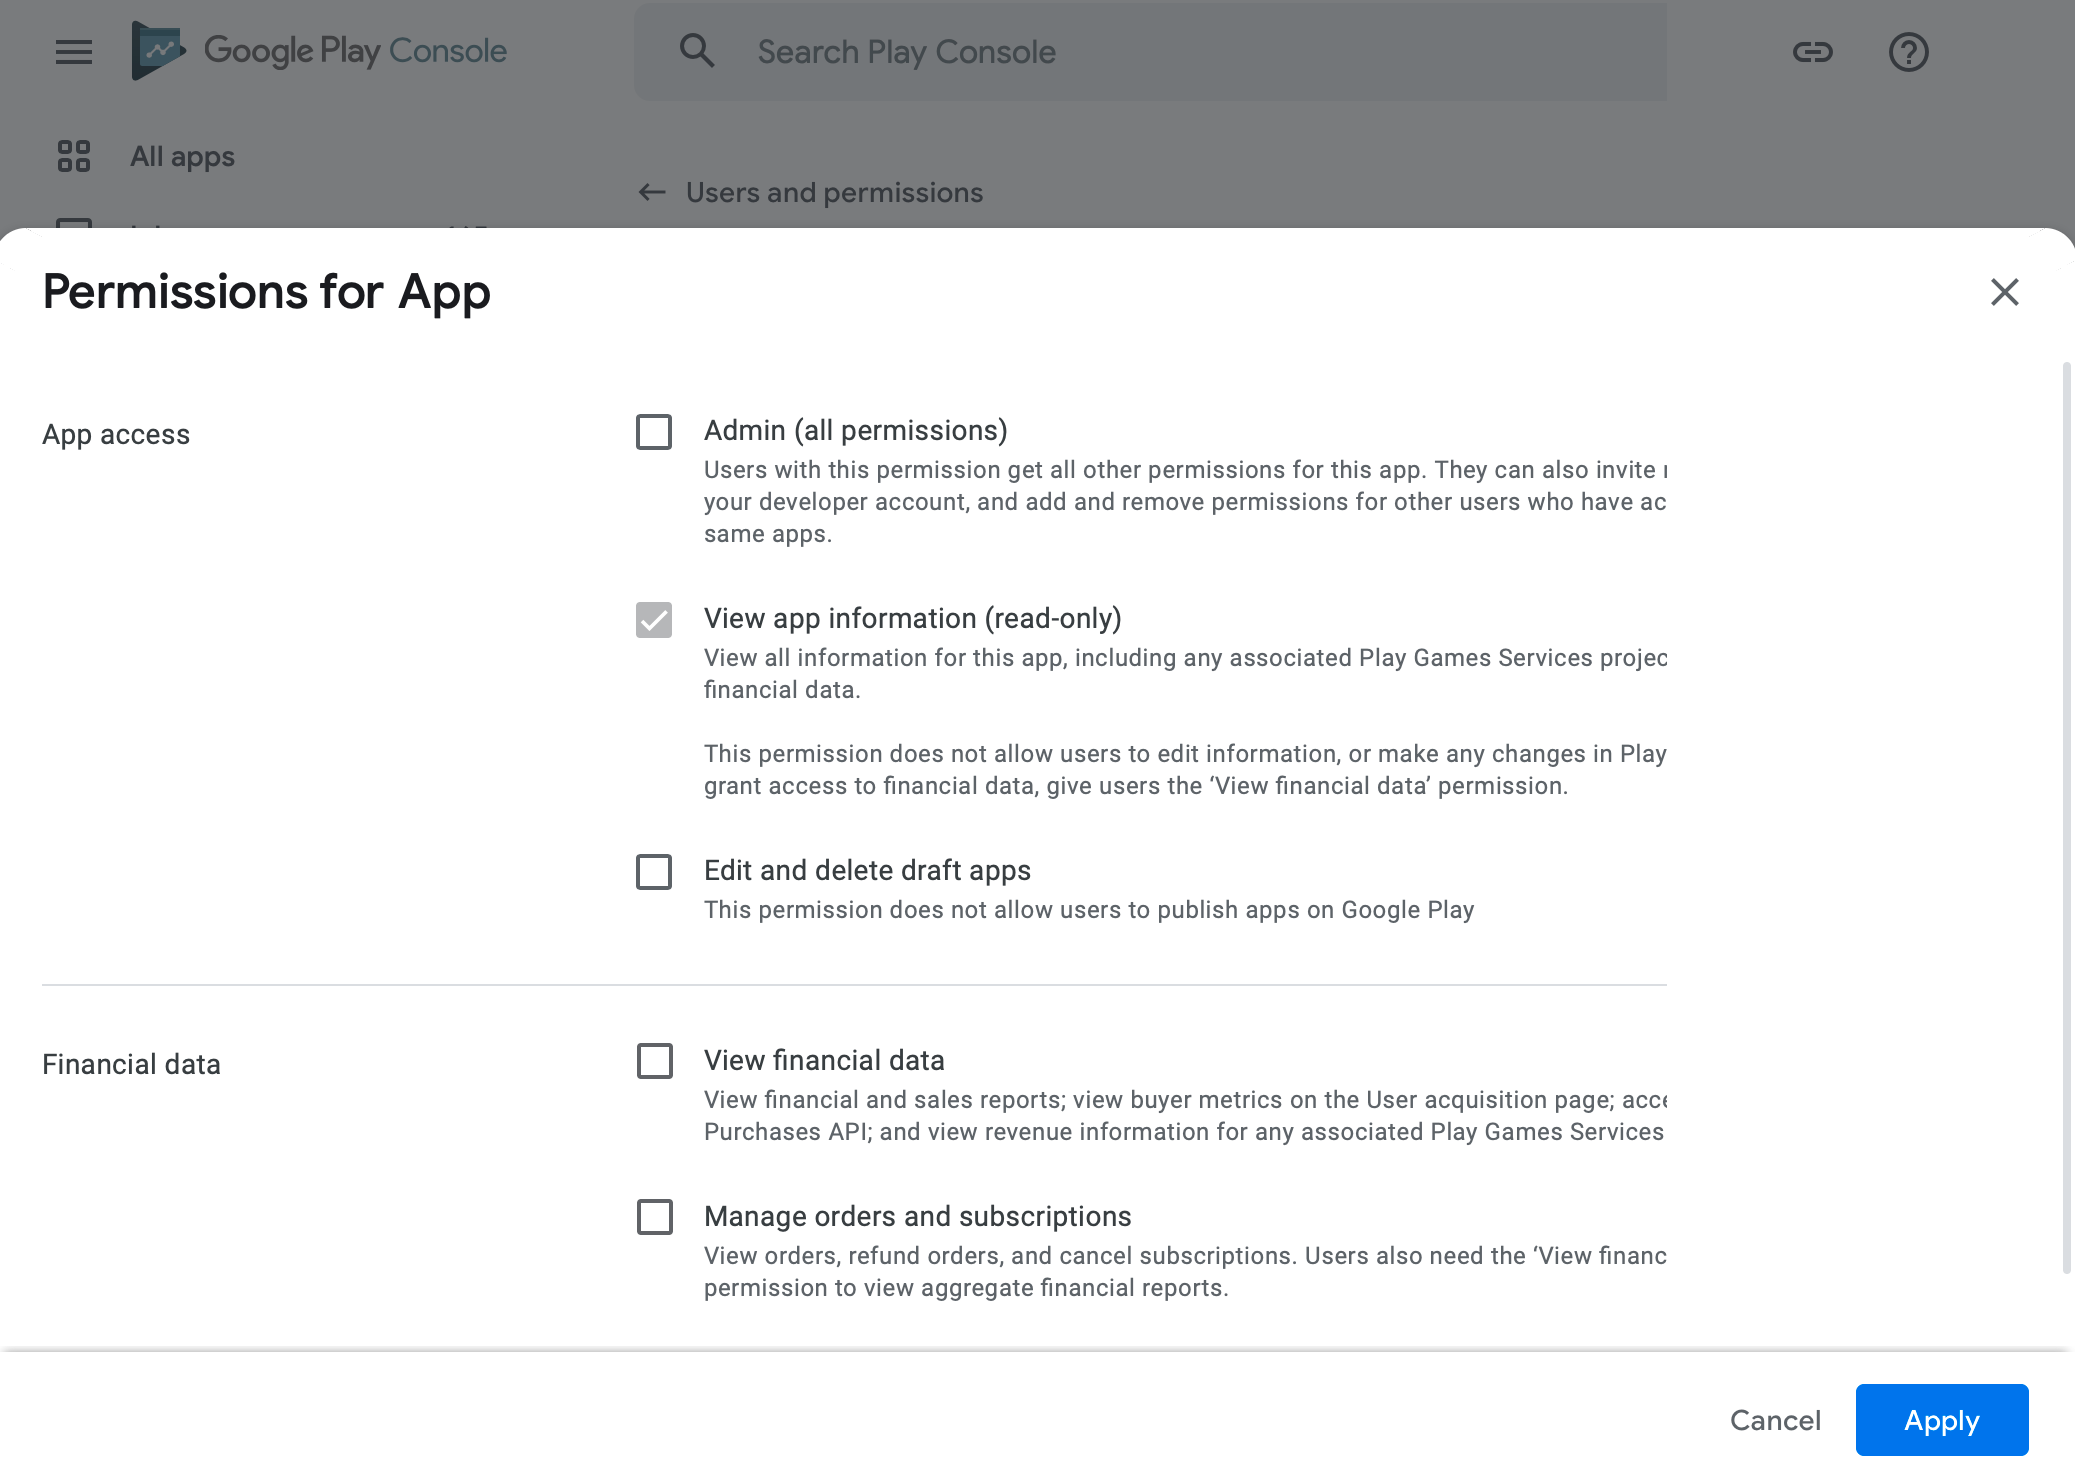
To get Google Play credentials:

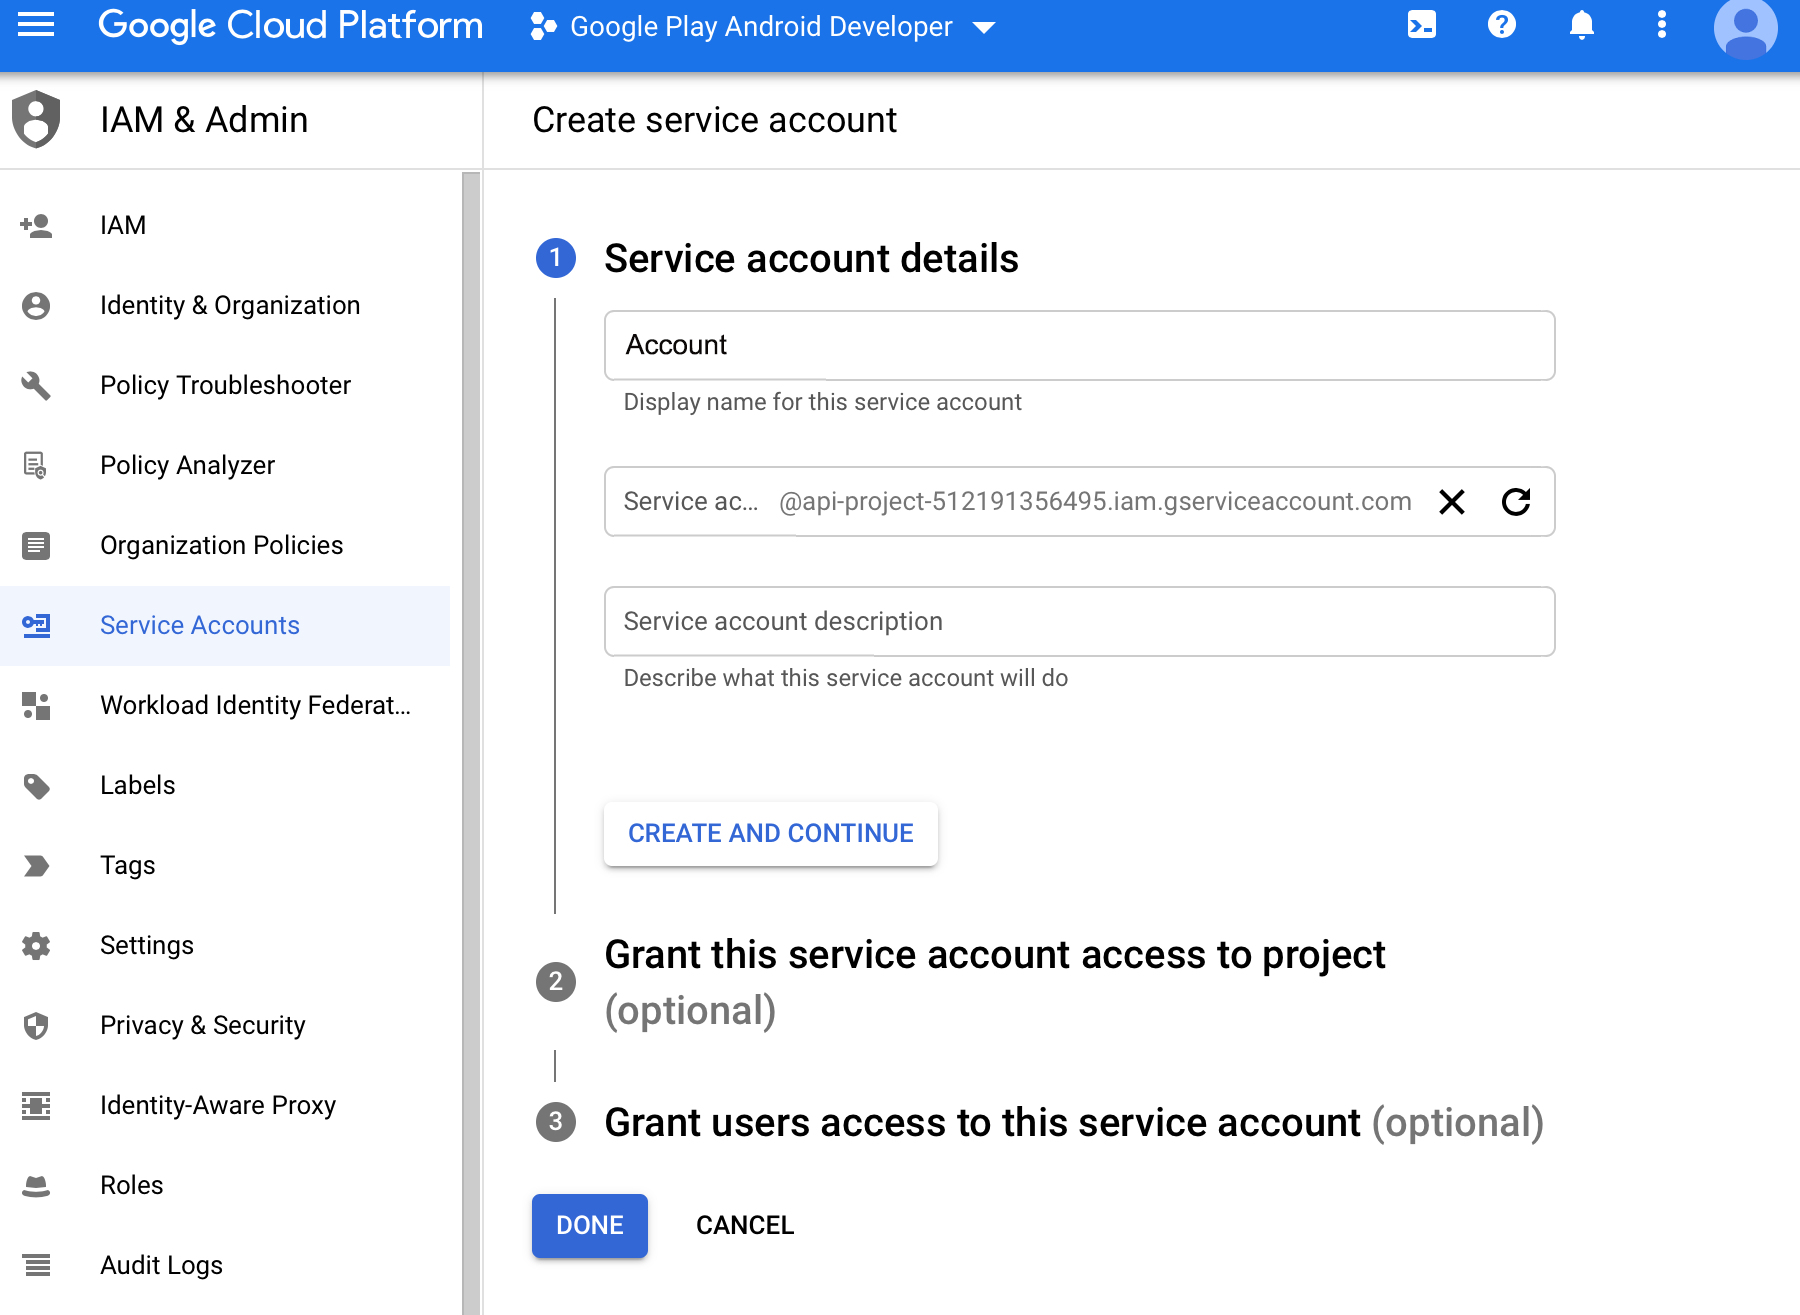
Credentials activation can take from 1 to 24 hours since you got access to application verification
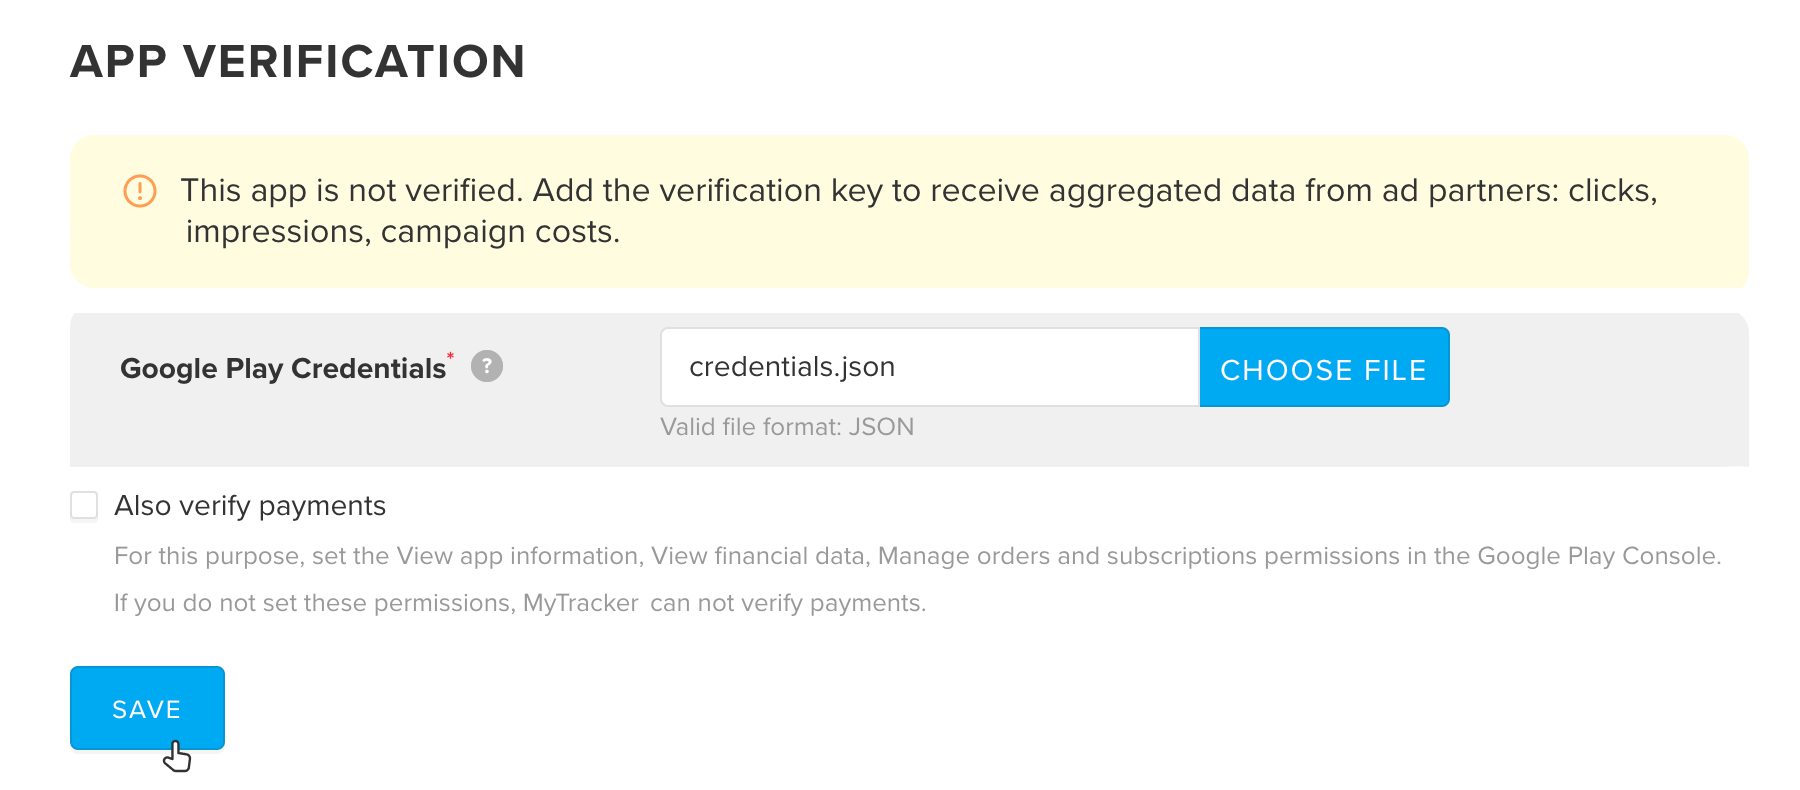
Use Google Play credentials to verify an application in MyTracker.
Add Google Play credentials to MyTracker to verify application:
MyTracker does not store the entered data. Credentials are used once to verify the application.
Based on the specified credentials, MyTracker will receive a list of applications available to the user, then check this list for the verifying application. If the application is found, then the rights will be successfully confirmed.
After MyTracker verify the application successfully, the icon will be displayed on the App verification tab .
You can disable verification at any moment you want. For example, in case MyTracker finds an app duplicate, that you need to verify instead of the current application.
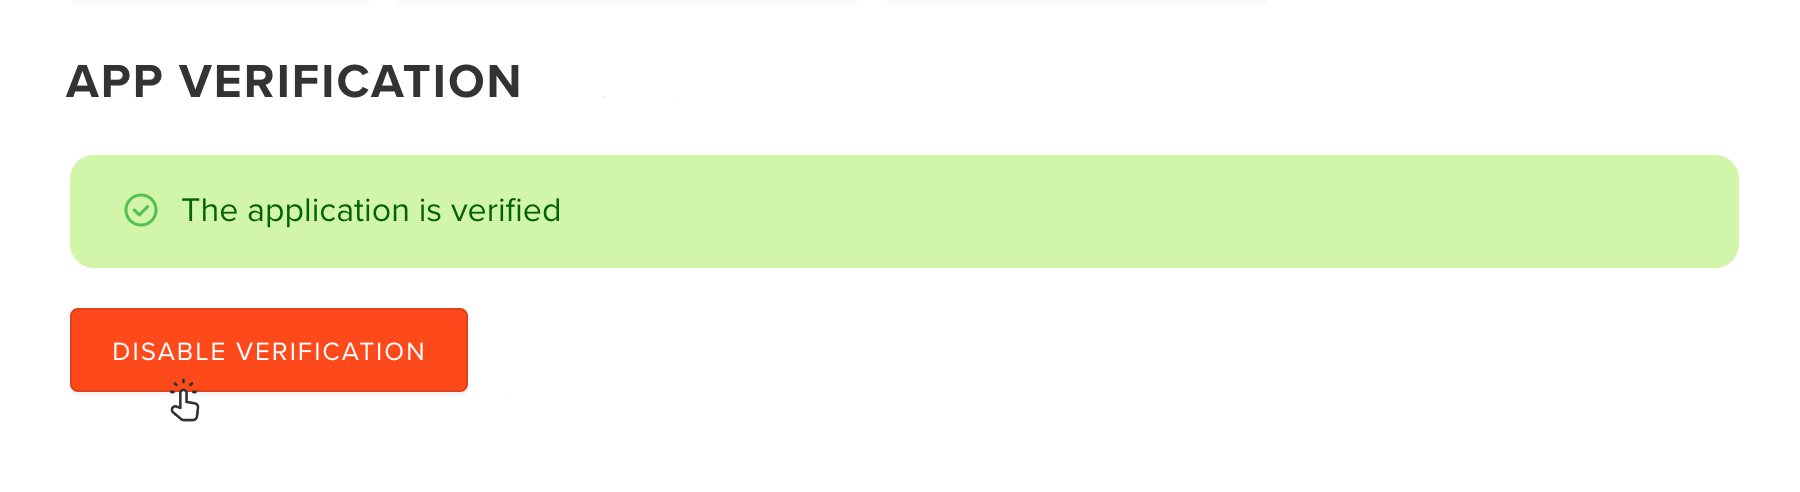
Verification will be disabled, and MyTracker will no longer receive SKAN postback and aggregated data from ad partners. You can always re-verify your application if needed.
I want to verify an app, but MyTracker found the verified duplicate of my application. What should I do?
If you have access and edit permissions, then you can simply disable verification of the unnecessary application and verify the application you need. Remember that MyTracker will no longer receive SKAN postbacks and aggregated data from ad partners for the unnecessary application.
If you have access but no edit permissions, you can ask a colleague with the Owner or Manager role to disable verification of the duplicated application.
If you do not have access, then probably someone who has access to the Google Play Console or App Store Connect verified it. Likely it is your colleague. First, we recommend contacting your colleagues or our support team.